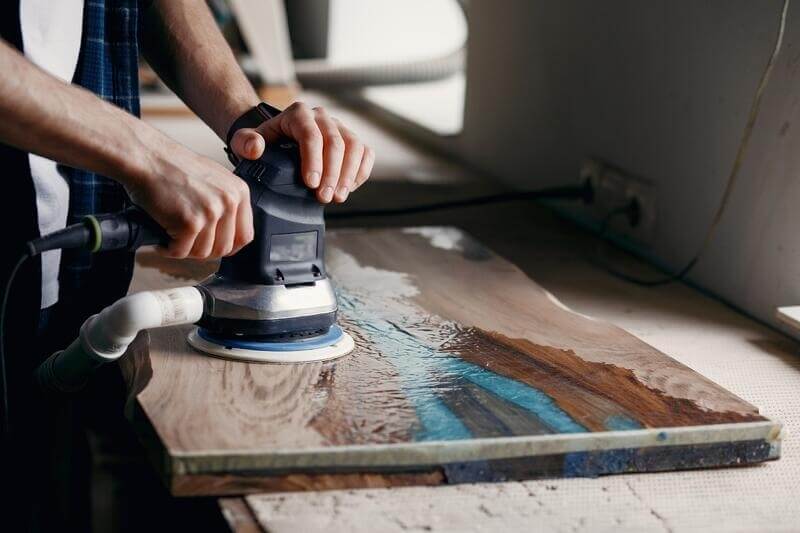
Tips For Sanding and Finishing Epoxy Resin Projects For A Smooth, Glossy Surface
Epoxy resin is a popular material for creating stunning and durable finishes on woodworking projects. However, achieving a smooth, glossy surface can be a challenging task. In this blog post, we will provide you with some tips and techniques for sanding and finishing your epoxy resin projects to achieve a beautiful and polished look.
- Choose the right sandpaper
The first step to achieving a smooth surface on your epoxy resin project is to choose the right sandpaper. For sanding epoxy, it is recommended to use sandpaper with a grit of 320 or higher. Start with a lower grit, like 120 or 220, to remove any roughness or bumps, and then move up to the higher grits for a smoother finish.
- Wet sanding
Wet sanding is a great technique for achieving a smooth and polished surface on your epoxy resin project. To wet sand, simply dip your sandpaper in water and begin sanding in a circular motion. Wet sanding helps to lubricate the surface and prevents the sandpaper from clogging with dust and debris.
- Use a sanding block
Using a sanding block is another important technique to achieve a smooth and even surface on your epoxy resin project. A sanding block provides a flat and even surface, which helps to avoid uneven sanding or damage to the edges of your project. Additionally, a sanding block can help you maintain a consistent pressure while sanding, which can prevent over-sanding or under-sanding certain areas.
- Take your time
Sanding and finishing epoxy resin projects can be time-consuming, but taking your time is crucial to achieving a beautiful and polished surface. Rushing the process can lead to uneven sanding, scratches or even damage to the epoxy resin. Take your time and be patient, and you will be rewarded with a stunning finished product.
- Use a polishing compound
Once you have achieved a smooth surface, you can use a polishing compound to further enhance the shine and gloss of your epoxy resin project. Apply a small amount of polishing compound to a soft cloth and gently rub it onto the surface in a circular motion. This will help to remove any remaining scratches or imperfections, and give your project a beautiful, glossy finish.
- Avoid Overheating
One of the risks associated with sanding epoxy resin is overheating the material. When the epoxy resin gets too hot, it can cause the material to soften or melt, which can damage the surface of your project. To avoid this, make sure you are using a low speed when sanding, and take frequent breaks to allow the surface to cool down.
- Clean the Surface
Before you apply any polishing compound or finish to your epoxy resin project, it's important to thoroughly clean the surface. Use a clean, dry cloth to remove any dust or debris, and then wipe the surface down with a damp cloth to remove any residue. This will ensure that your project has a smooth and clean surface for finishing.
- Apply a Protective Finish
To protect your epoxy resin project from scratches, scuffs, and other damage, it's important to apply a protective finish. There are many different types of finishes available, including polyurethane, lacquer, and varnish. Choose the finish that best suits your project and apply it in thin, even coats, allowing each coat to dry completely before applying the next.
- Consider Buffing
If you're looking for an extra glossy finish on your epoxy resin project, consider buffing the surface with a polishing wheel. This will help to remove any remaining scratches or imperfections and create a mirror-like finish on the surface. Be sure to use a low speed and a soft, clean cloth to avoid damaging the surface.
- Practice Makes Perfect
As with any skill, practice makes perfect when it comes to sanding and finishing epoxy resin projects. Don't be discouraged if your first few attempts don't turn out perfectly - keep practicing and experimenting with different techniques and tools until you find the ones that work best for you.
In conclusion, sanding and finishing epoxy resin projects requires patience, attention to detail, and the right techniques and tools. By following these tips and practicing regularly, you can achieve a smooth and polished surface on your next woodworking project. Remember to take your time, work carefully, and enjoy the process of creating something beautiful and unique.
